Showing posts with label Misc. Recipes. Show all posts

Saturday, April 26, 2014

Coleslaw Easter Eggs

Every year at Easter time I get so excited to dye my eggs. This was such a fun tradition growing up that I never out grew it. Well this year, I decided I was tired of the same 'ol dyed egg shells that you just peel and toss in the trash. I was also tired of the same 'ol recipe for making deviled eggs. So here's the new spin on an old favorite.

First I hard boiled my eggs as normal. Once cooled I peeled the eggs, cut them in half to remove the cooked yolks and using food safe Easter egg dye, I dyed the egg whites themselves then arranged them on an egg platter for filling.

Coleslaw Eggs
1 dozen eggs (hard boiled, cooled, peeled, halved, yolks removed & in this case egg whites dyed)
1/4 tsp. Old Bay seasoning
Black pepper (to taste)
1/4 tsp. Dehydrated minced onion
1/4 tsp. Garlic powder
Hidden Valley Ranch Coleslaw dressing
2 Tblsp. Bacon bits

To the reserved yolks that were previously removed from the hard boiled eggs, dd in dry seasonings. Stir to break up yolks. Add in enough Coleslaw dressing to moisten but not saturate the yolk mixture. Stir to mix well. Filling should be moist and smooth. Spoon into each egg half. Sprinkle with a dash of Old Bay atop filled eggs for decoration. Keep refrigerated.

Click HERE for printable recipe

Sunday, March 9, 2014

Homemade Cherry Lime-Aid

While happy hour is nice, I don't always have time to run by Sonic, so instead I thought I'd recreate one of our favorite snack time drinks...the Cherry Lime-aid. So the other day, I got in the kitchen and started throwing things together. The end result was delicious and refreshing. 


1 (2 liter) bottle Siera Mist lemon lime flavored soda 
1 (16 oz) jar Maraschino cherries 
1 fresh lime 
(Image taken before lime slices were added)
In a large container pour entire jar of cherries and juice. Next slowly add the bottle of Siera Mist. The mixture will bubble & fizz, which I think is pretty neat to watch. Slice the lime into thin circles and add to the liquid. Stir well. Refrigerate and serve chilled.

Click HERE for printable recipe

Saturday, January 25, 2014

Fresh Squeezed

The other day a friend gave me some of her fresh picked meyer lemons. I knew I wouldn't be able to use them all at one time, so I decided to juice them. 

Fresh lemon juice is great in a myriad of recipes from soups to baking to salad vinaigrette. But how do you capture that fresh squeezed taste when you may not need the juice right away? Simple...freeze it!
Freezing options are up to your preference, but I like to use ice cube trays. For $2 at the local Dollar General store I was able to pick up a 3 pack of stacking trays. Using my juicer I simply juiced the liquid gold and filled up my trays. Once frozen solid I can pop them out of the trays and store them in zip lock bags and pull out a cube as needed. I had a half pint of liquid left over, so I simply stored in it a canning jar in the icebox. This weekend it will definitely get used in a cake recipe as well as a soup. Waste not want not!

Wednesday, January 30, 2013

Sausage Dippers


1 lb Hot style Jimmy Dean pork sausage
1 cup shredded Monterrey jack cheese
1 cup shredded habanero cheddar cheese*
3 cups Bisquick baking mix

Preheat oven to 375*

In a large mixing bowl combine sausage & cheeses. Mix on medium-low speed of a mixer. Slowly add in Bisquick a little at a time. Mix until ingredients are well blended. Roll sausage mixture into 1" balls and place on an ungreased baking sheet. (There is enough oil in the sausage that you won't need to oil grease the baking sheet.) Bake for 20-22 minutes or until golden. Serve warm with your favorite dip. (cheese, ranch, etc.)


  *Kroger brand of shredded habanero cheddar cheese is my favorite to use.

 Click HERE for printable recipe


Monday, October 29, 2012

Homemade Beef Jerky

I love beef jerky, but it's so expensive to buy the really good stuff...no, I'm not referring to the Slim Jim type stuff, but the good old fashioned jerky you get at the meat market.So instead, I make my own. This way, I can season it to my liking as well as save money. The batch I made this weekend only cost me $2.41, as I bought a good piece of meat that was in the clearance section of Kroger. The expiration date was 4 days from the date I purchased it, so there was nothing wrong with it. After a little seasoning and several hours of dehydrating, we have a fresh batch of jerky.
Start with an inexpensive cut of beef...season as desired. Let the dehydrator do the rest.


2/3rds the way into dehydrating (about 8-10 hrs depending on the thickness of the meat), cut into bite size pieces and place back on the dehydrator. 
Viola! Homemade beef jerky. Store in an airtight container.


Wednesday, June 8, 2011

Pico De Gallo

One of the best things about Summer is gardening. I just love when you get to go out on your own property and pick fresh vegetables and fruit that you grew yourself. Even better....cooking with your bounty. Here's one on my favorite snacks to make using those beautiful, fresh tomatoes...

Pico De Gallo
3-4 med. size roma tomatoes, diced
2-3 jalapeno peppers, diced
1/2 a medium white onion, diced
1/3 c. fresh cilantro, finely chopped
3-4 cloves garlic, chopped
1 lemon
salt to taste

In a small mixing bowl combine tomatoes, jalapenos, onion, cilantro & garlic. Stir to combine. Juice lemon and add to mixture. Stir well. Season with salt to your taste and serve chilled.

Click HERE for printable recipe

Tuesday, May 3, 2011

Red Onion & Black Pepper Spread

(Photo Courtesy of Nabisco)

This recipes originates from the back of Ritz cracker box. So never under estimate the back of the box recipes.


The recipe originates from the back of a Ritz cracker box. So never under estimate back of the box recipes.

1 pkg. (8-oz) softened cream cheese
1/4 c. finely chopped red onions
1 clove garlic, pan toasted, peeled and chopped (since we love garlic I used 2 medium size & 1 small clove)
1/4 tsp. coarse ground black pepper
2 Tblsp. chopped fresh parsley
Ritz crackers

In a dry saute skillet, lightly toast garlic. There's no need to peel your garlic at this time. Once garlic has toasted and is lightly browned (be careful not to burn the garlic) transfer garlic to a cutting board. Peel and chop garlic.

In a medium size mixing bowl, combine cream cheese, onion, black pepper & garlic. Using a hand mixer, mix until all ingredients are well blended. Transfer mixture to a sheet of waxed paper or plastic wrap. Roll into the shape of a log. Wrap tightly and refrigerate for about 30 minutes or until firm. Roll in parsley and serve with crackers.

Click HERE for printable recipe

Saturday, February 12, 2011

Bread Crumbs Anyone

How many times have you gone to make a sandwich, pulled the bread out only to find 1 piece and the heel left in the bag? This can be so frustrating if you don't care for the heel. There's no need to toss out those remnants, instead use it to make your own bread crumbs.

It doesn't have to be just bread slices, you can do this with biscuits, english muffins, bagels, etc.


Simply cube up your bread into manageable pieces

Toss cubes into a ziptop freezer bag and store in the freezer until you have a full bag or enough for whatever you need to use them for.


One of my favorite uses for homemade bread cubes is for my Thanksgiving Sausage Stuffing. But this stuffing is so good, you don't need to wait until the holidays to enjoy it. You can also make your own Seasoned Dry Bread crumbs instead buying them at the store. This will save you money as well as give you the control to flavor them as you like.


Wednesday, January 12, 2011

Recipe For Happiness

2 Heaping cups of patience
1 Heart full of love
2 Hands full of generosity
Dash of laughter
1 Head full of understanding

Sprinkle generously with kindness. Add plenty of faith and mix well. Spread over a period of a lifetime. And serve everyone you meet.

Saturday, July 17, 2010

Snacking For Less


Last night I made one of my most favorite, inexpensive snacks that I love to eat. This snack was actually something my Mother made for me when I was a young child growing up and boy do I still love it. What is this fun fare that I enjoy so much?

A bread, butter and sugar sandwich!

If you have never tried one before, give it a whirl. You never know, it just might become your favorite too. All you do is take a piece of bread and spread as much butter on it as you like then sprinkle sugar on top. Fold your bread in half and voila! instant desert.

Wednesday, May 5, 2010

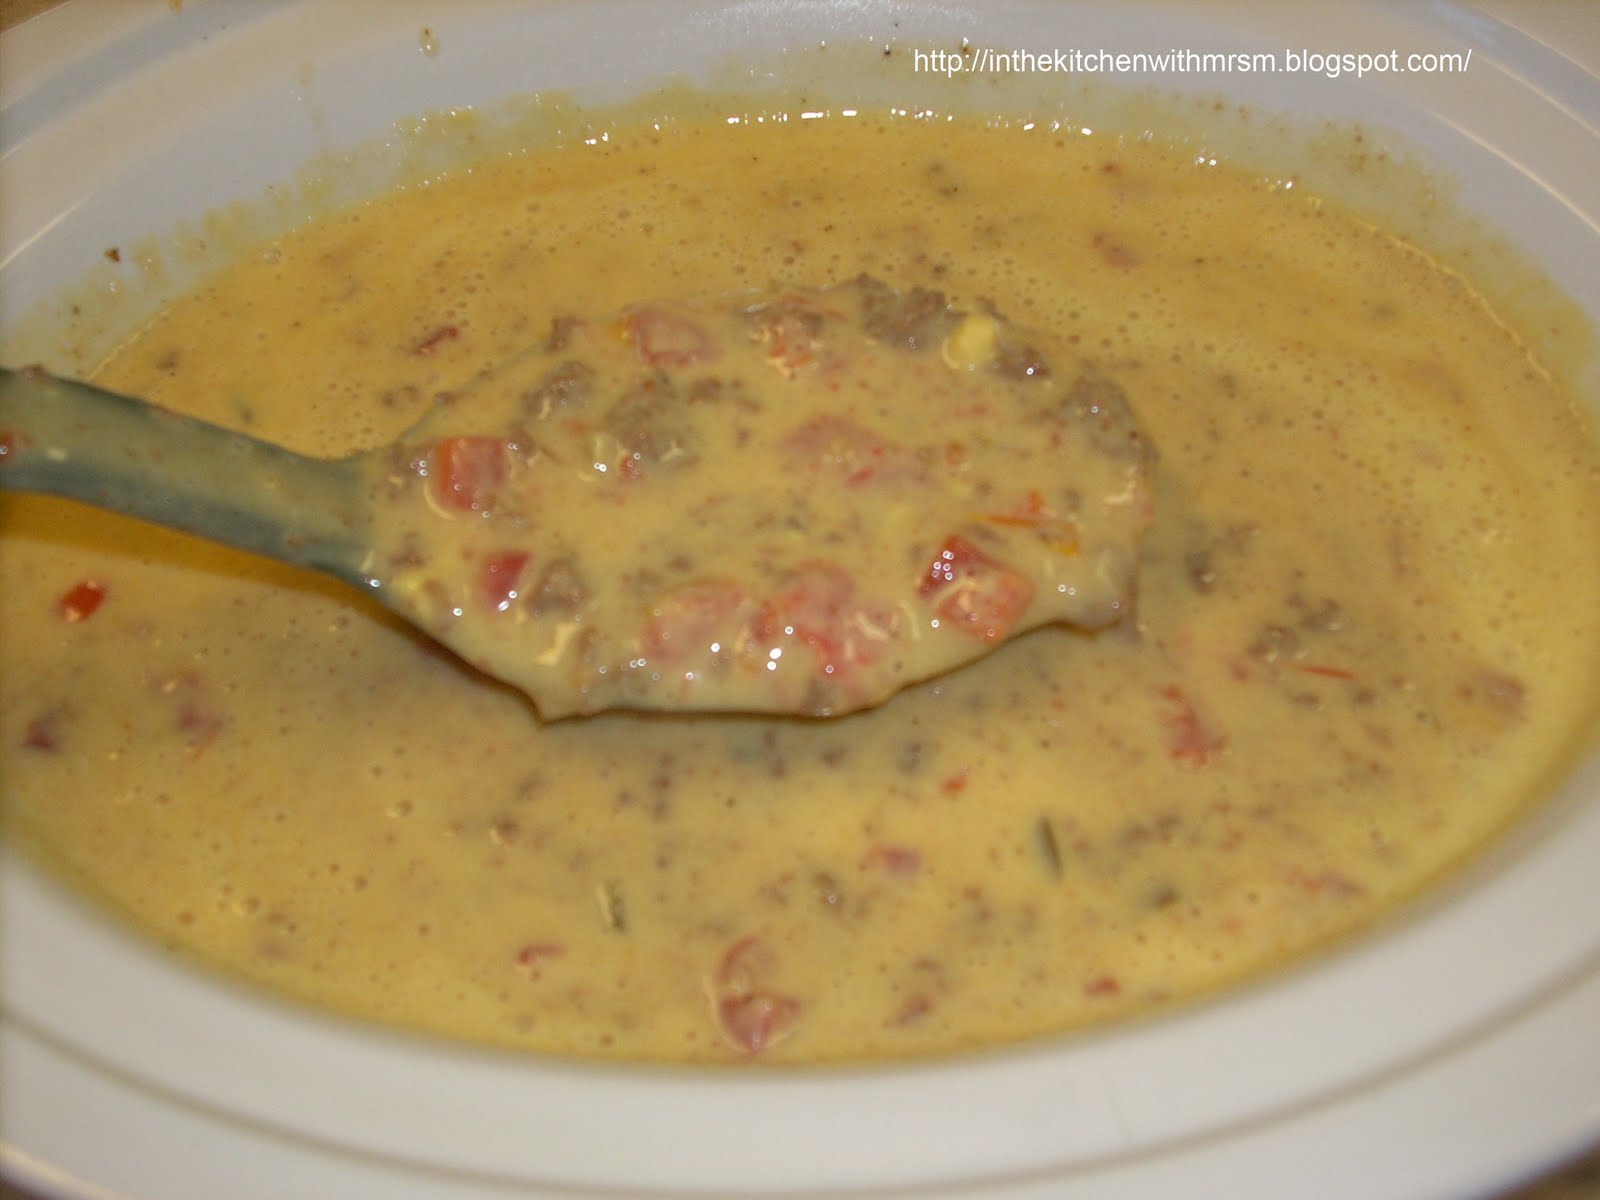
Beef Fajita Con Queso


1 lb. ground beef
1 envelope fajita seasoning mix
1/4 c. water
1 1/2 Tblsp. chopped garlic
1 lb. Velveeta; cubed
2 cans rotel (green chile's & diced tomatoes)


In a medium skillet combine ground beef, fajita seasoning and water. Stir to mix well. Cook meat until almost done then add in garlic. Stir and continue to cook until meat is no longer pink. Reduce heat to low and allow to simmer until sauce thickens somewhat. Drain grease and set aside.


In a sauce pot combine cubed Velveeta and rotel. Stir and heat over medium-low heat until cheese is melted. Stir in drained meat mixture. Keep warm.

**Since I am taking this for a luncheon, I am using my crockpot, set to low to keep it warm.

Click HERE for printable recipe

Monday, April 26, 2010

A Favorite Southern Treat


What southern kitchen would be complete without having a time honored treat in the icebox? What would this treat be you might be asking...why Pimento Cheese Spread of course. We just love our pimento cheese sandwiches, but buying those tiny containers at the grocery store just never seem to hold enough to do more than just tease a person. So for our household, I make it. I know most pimento spreads are deep yellow/orange in color but I am using both a white and yellow cheese in mine, thus the difference in the color. But let me assure you, the taste is still just as yummy!!

Pimento Cheese Spread

3/4 c. mayo
1/2 tsp. minced garlic
1/4 c. minced onion
1 tsp. Worcestershire sauce
1/4 tsp. cayenne pepper
1 pinch black pepper
3 pinches kosher salt
2 (7-oz) jars chopped pimentos (reserving the juice)
3 oz. diced cream cheese (softened at room temperature)
2 c. (8-oz) shredded cheddar cheese
2 c. (8-oz) shredded Monterrey jack cheese


In a large mixing bowl combine mayo, garlic, onion, Worcestershire sauce, cayenne pepper, black pepper, salt & pimentos (using about 1/3 to 1/2 of the reserved juices). Mix well. Stir in cream cheese and blend well. Add in shredded cheeses and stir until incorporated well. Cover and refrigerate.

Click HERE for printable recipe

Monday, January 4, 2010

Tzatziki Sauce

This is a great tasting Tzatziki sauce that goes well with chicken, whole wheat pitas and more. It's a process to make but definitely well worth the effort.


3 c. plain yogurt
3 Tblsp. lemon juice
1 tsp. chopped garlic
2 cucumbers, seeded & diced
1 Tblsp. finely chopped fresh dill
salt & pepper to taste


Before you make your sauce you will need to drain your yogurt. Begin by placing two paper coffee filters inside of an automatic drip coffee dispenser. Set drip dispenser on top of a bowl or other type container to catch liquid as it drains.


Spoon the yogurt from original container and place into coffee filter. Allow to drain for several hours or overnight in the refrigerator. (You can do this at room temperature on the counter for about 2-4 hours, but personally I don't like to allow my yogurt to get that warm.)


This is after only 2 hours of being in the refrigerator. So you can see by the amount of liquid in the bowl that you will need a deep enough bowl to catch it all. Once yogurt has drained well, transfer it to a small bowl.


Next, begin peeling your cucumbers. Cut each in half lengthwise. Scrape out and discard seeds. Slice cucumbers and place in a colander. Sprinkle ! tablespoon of salt over cucumbers and toss lightly to coat. Allow to sit for about 30 minutes or until the majority of water has drained out. Rinse lightly with cold water. Drain well pat dry with a paper towel.


Place cucumbers, garlic, lemon juice, dill, and pepper (amount to suit your taste) into a food processor bowl. Process until well blended. Add mixture to yogurt and stir to mix well.Adjust salt & pepper at this point to suit your taste.


Return mixture to refrigerator and allow to chill for about an hour before serving. Store any left overs in the refrigerator. (Mixture may need to be drained and stirred before using again as more liquid will extract itself from the yogurt.)

Click HERE for printable recipe